

Step 1: Create iOS Project
Open Xcode, click on create a new Xcode project -> Select the Single View App.

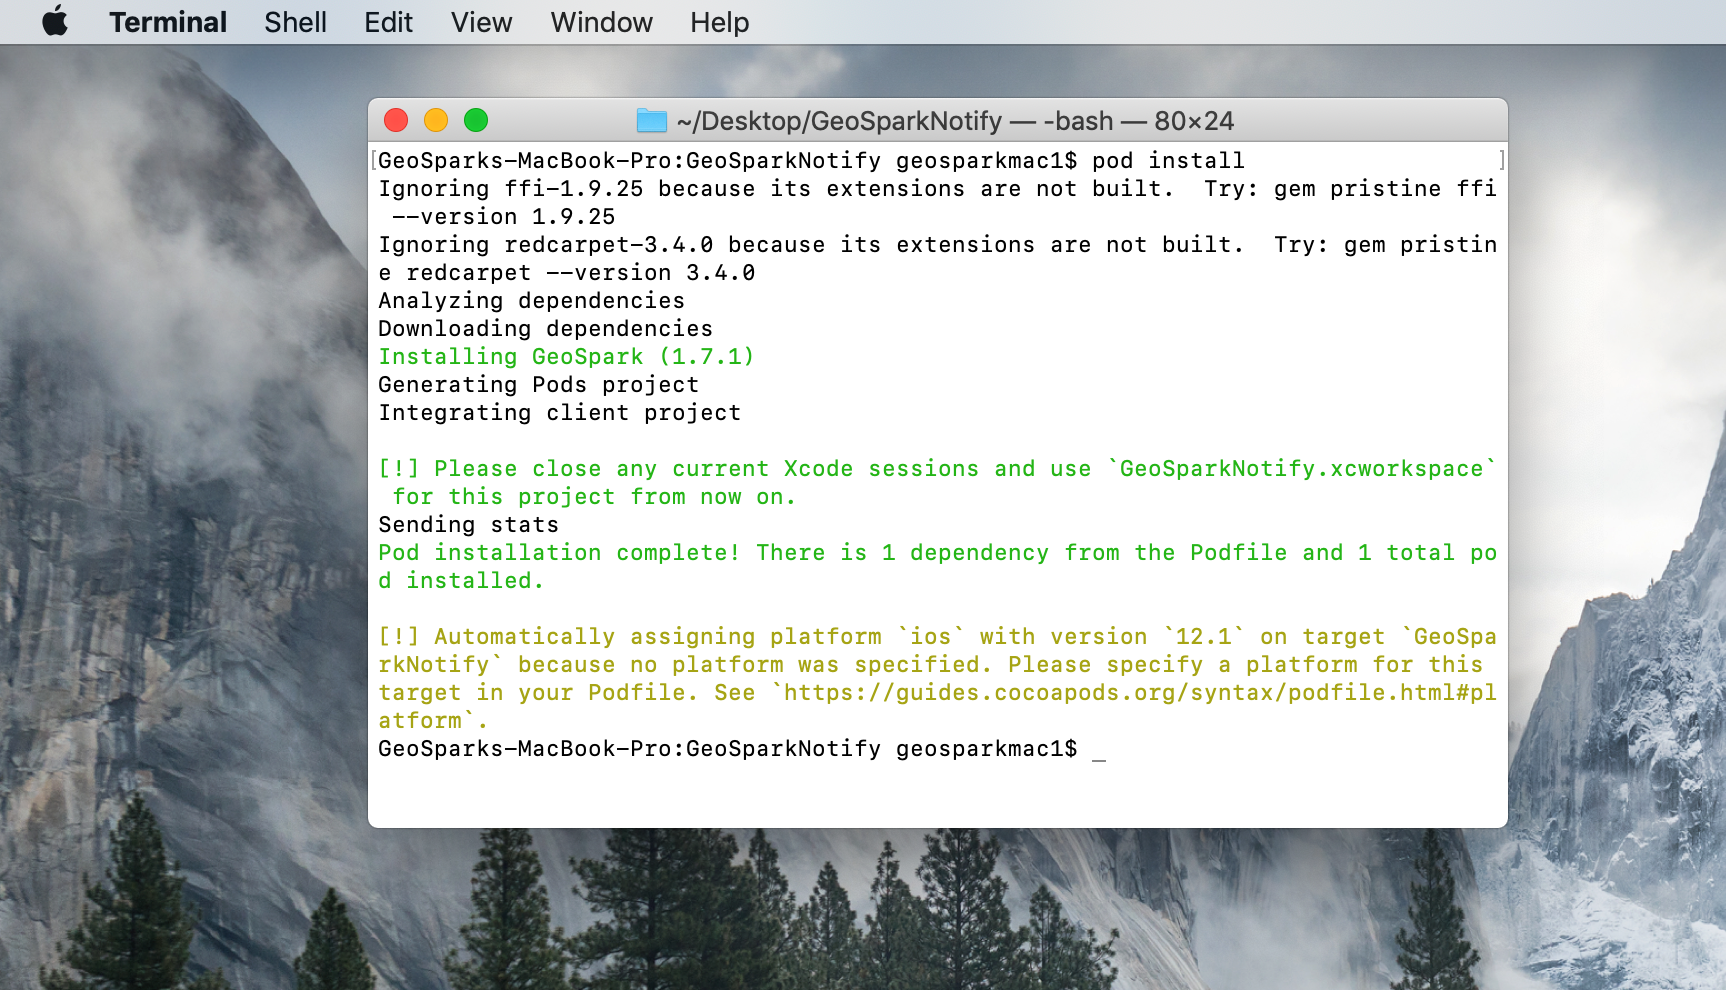
Step 2: Install SDK
Open terminal, go to project folder and run pod init Open pod file, add pod GeoSpark and run pod install in your terminal.
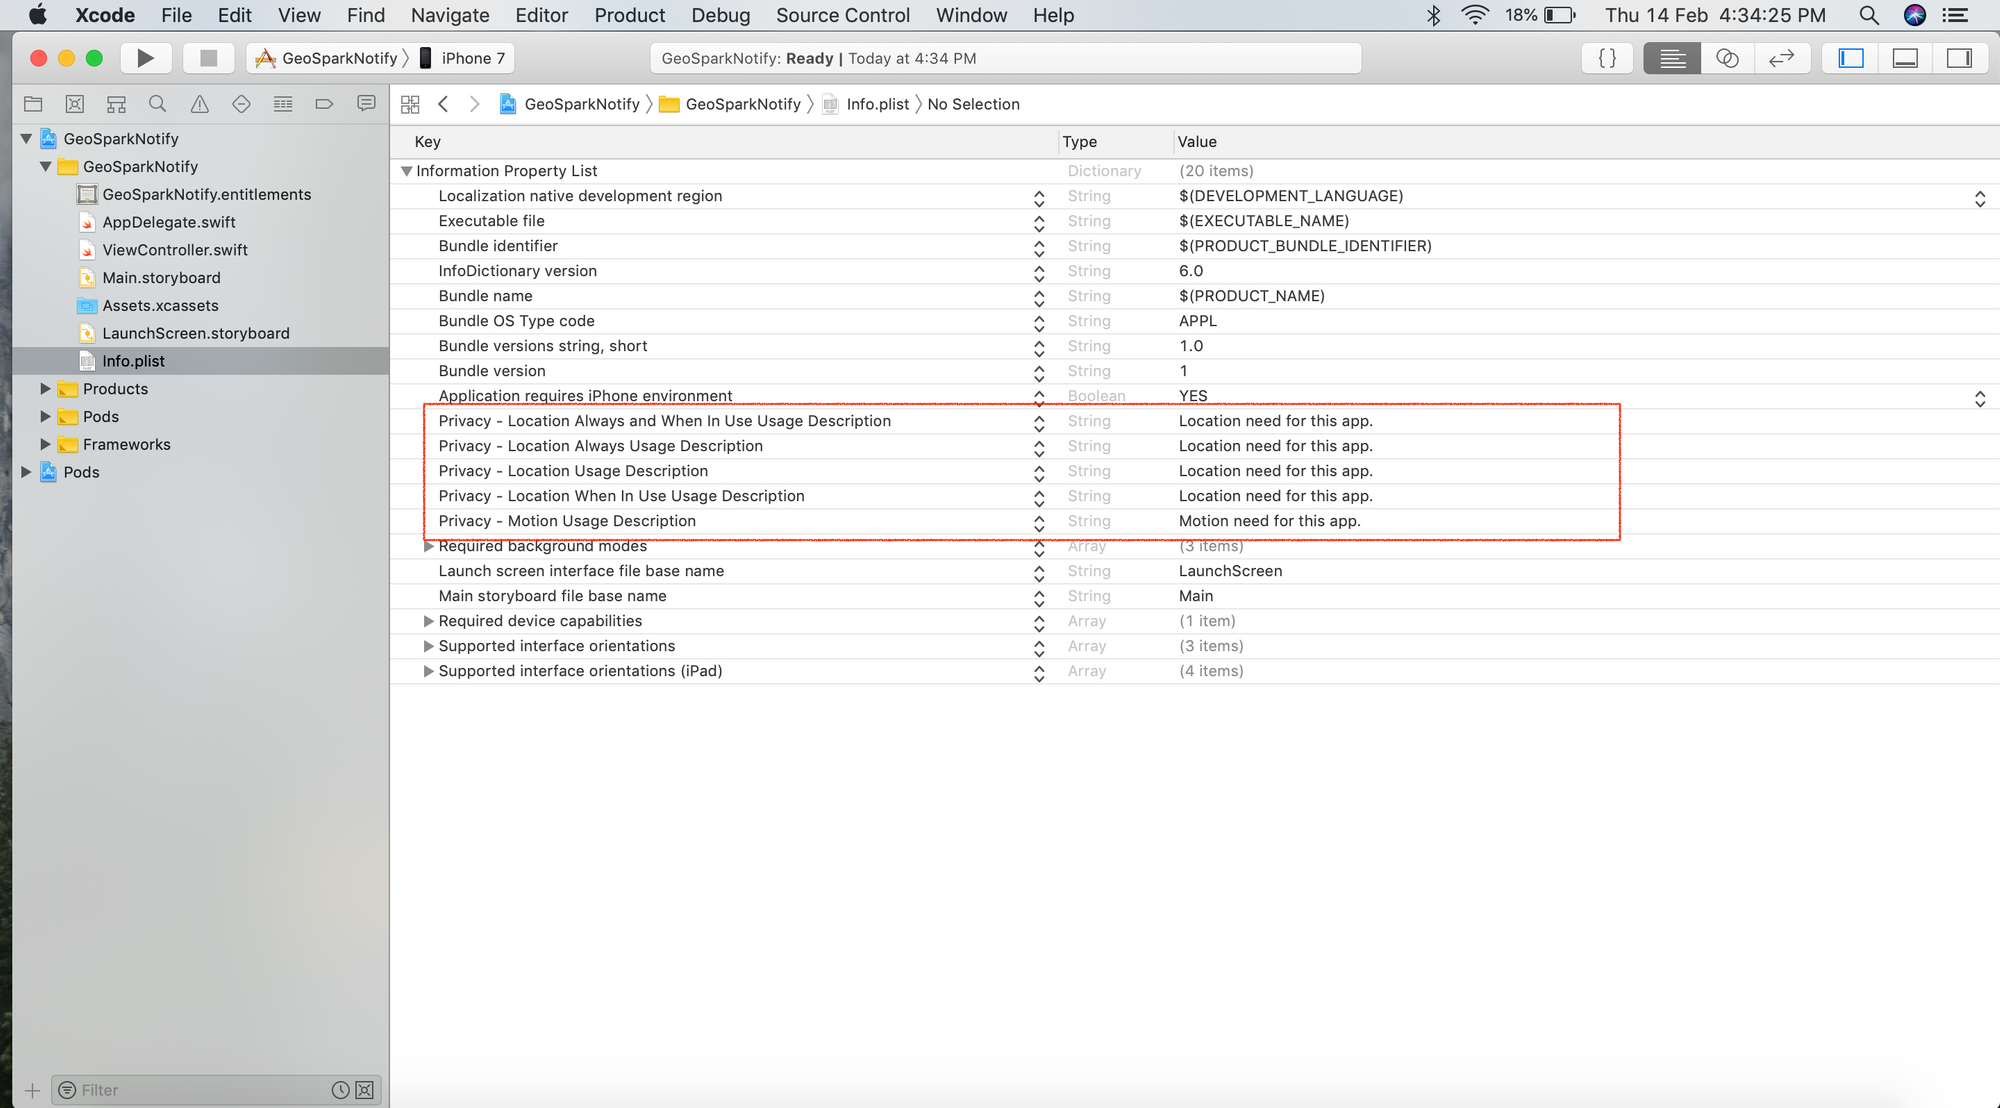
Configure project
To configure the location services, add following entries to the Info.plist file.
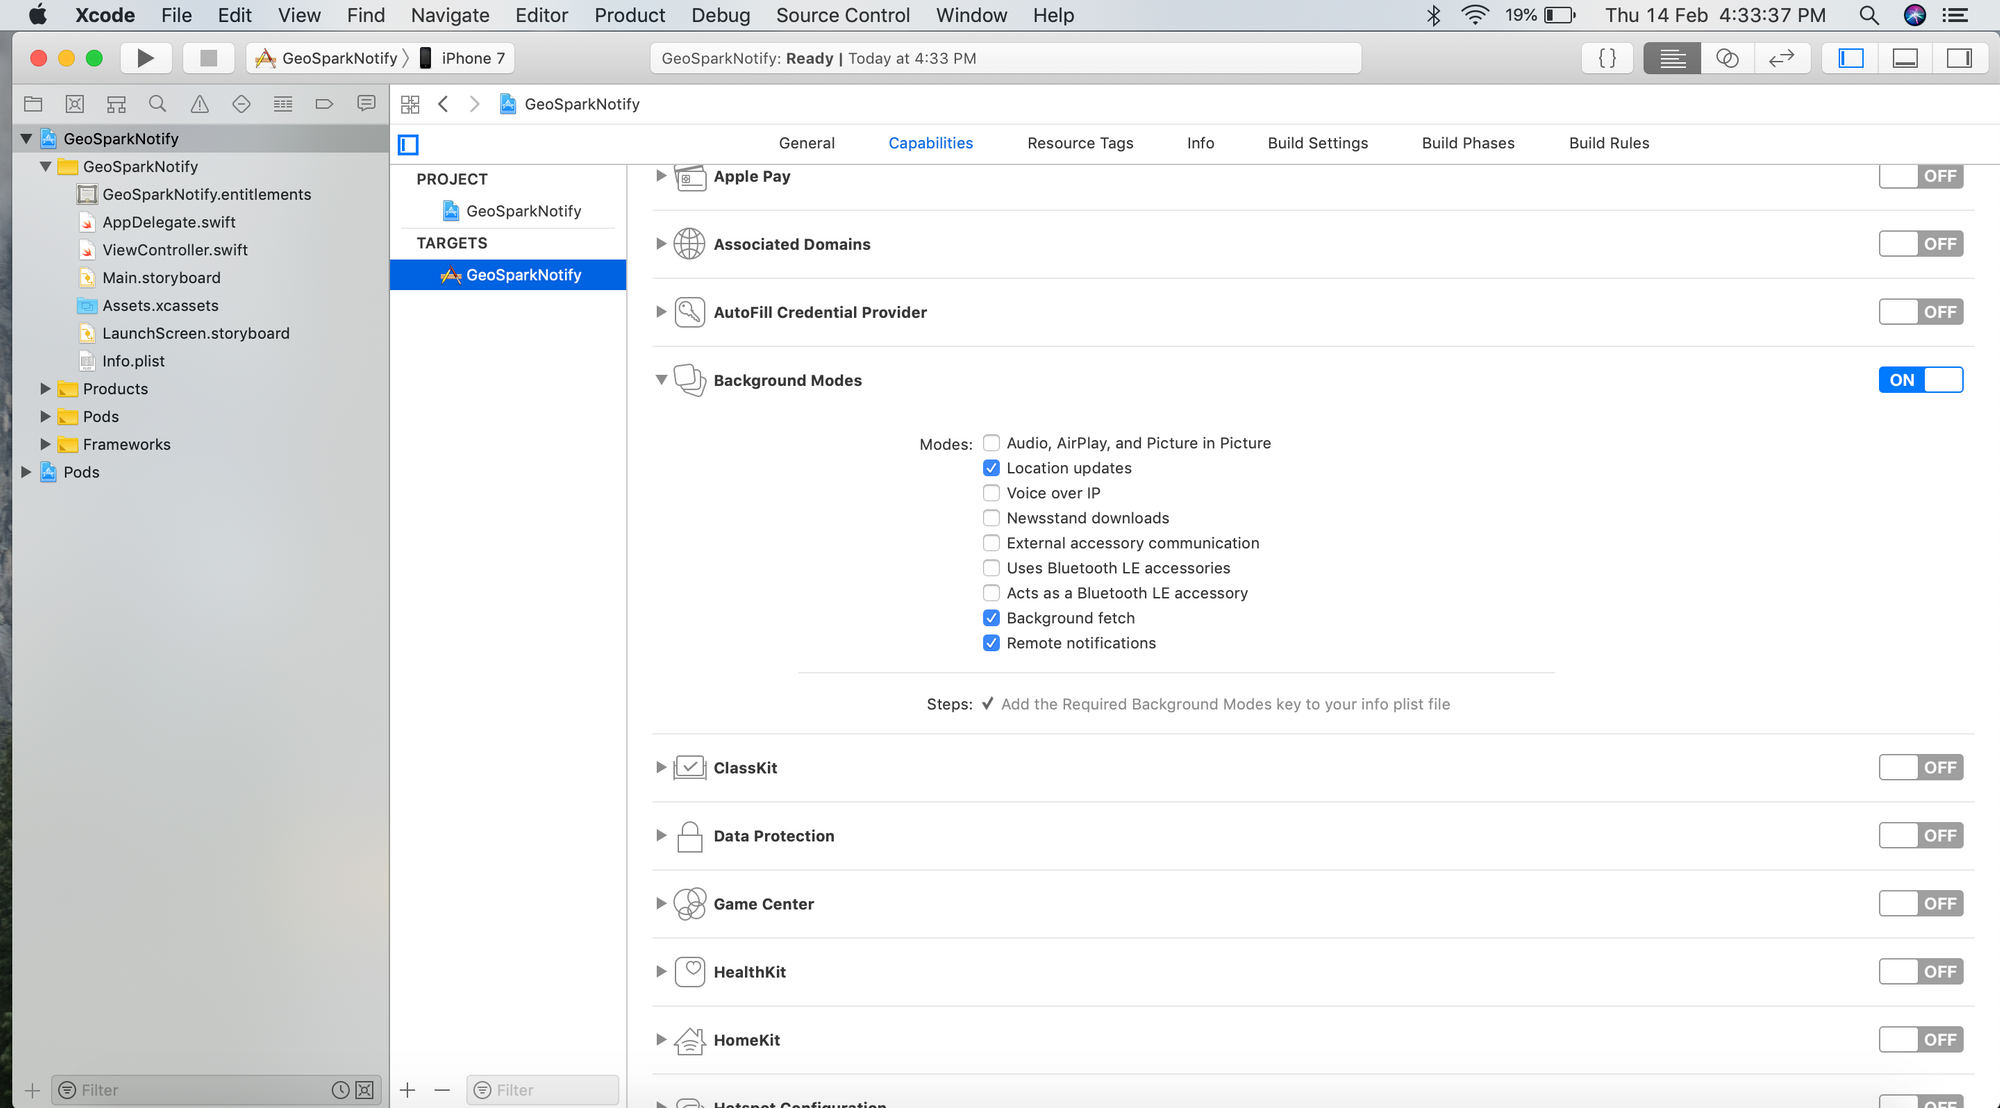
Then, in your project settings, go to Capabilities > Background Modes and turn on background fetch, location updates and remote-notifications.
Step 3: Set DeviceToken
Register for remote notification and get the device token from the following method didRegisterForRemoteNotificationsWithDeviceToken.

Step 4: Initialize SDK
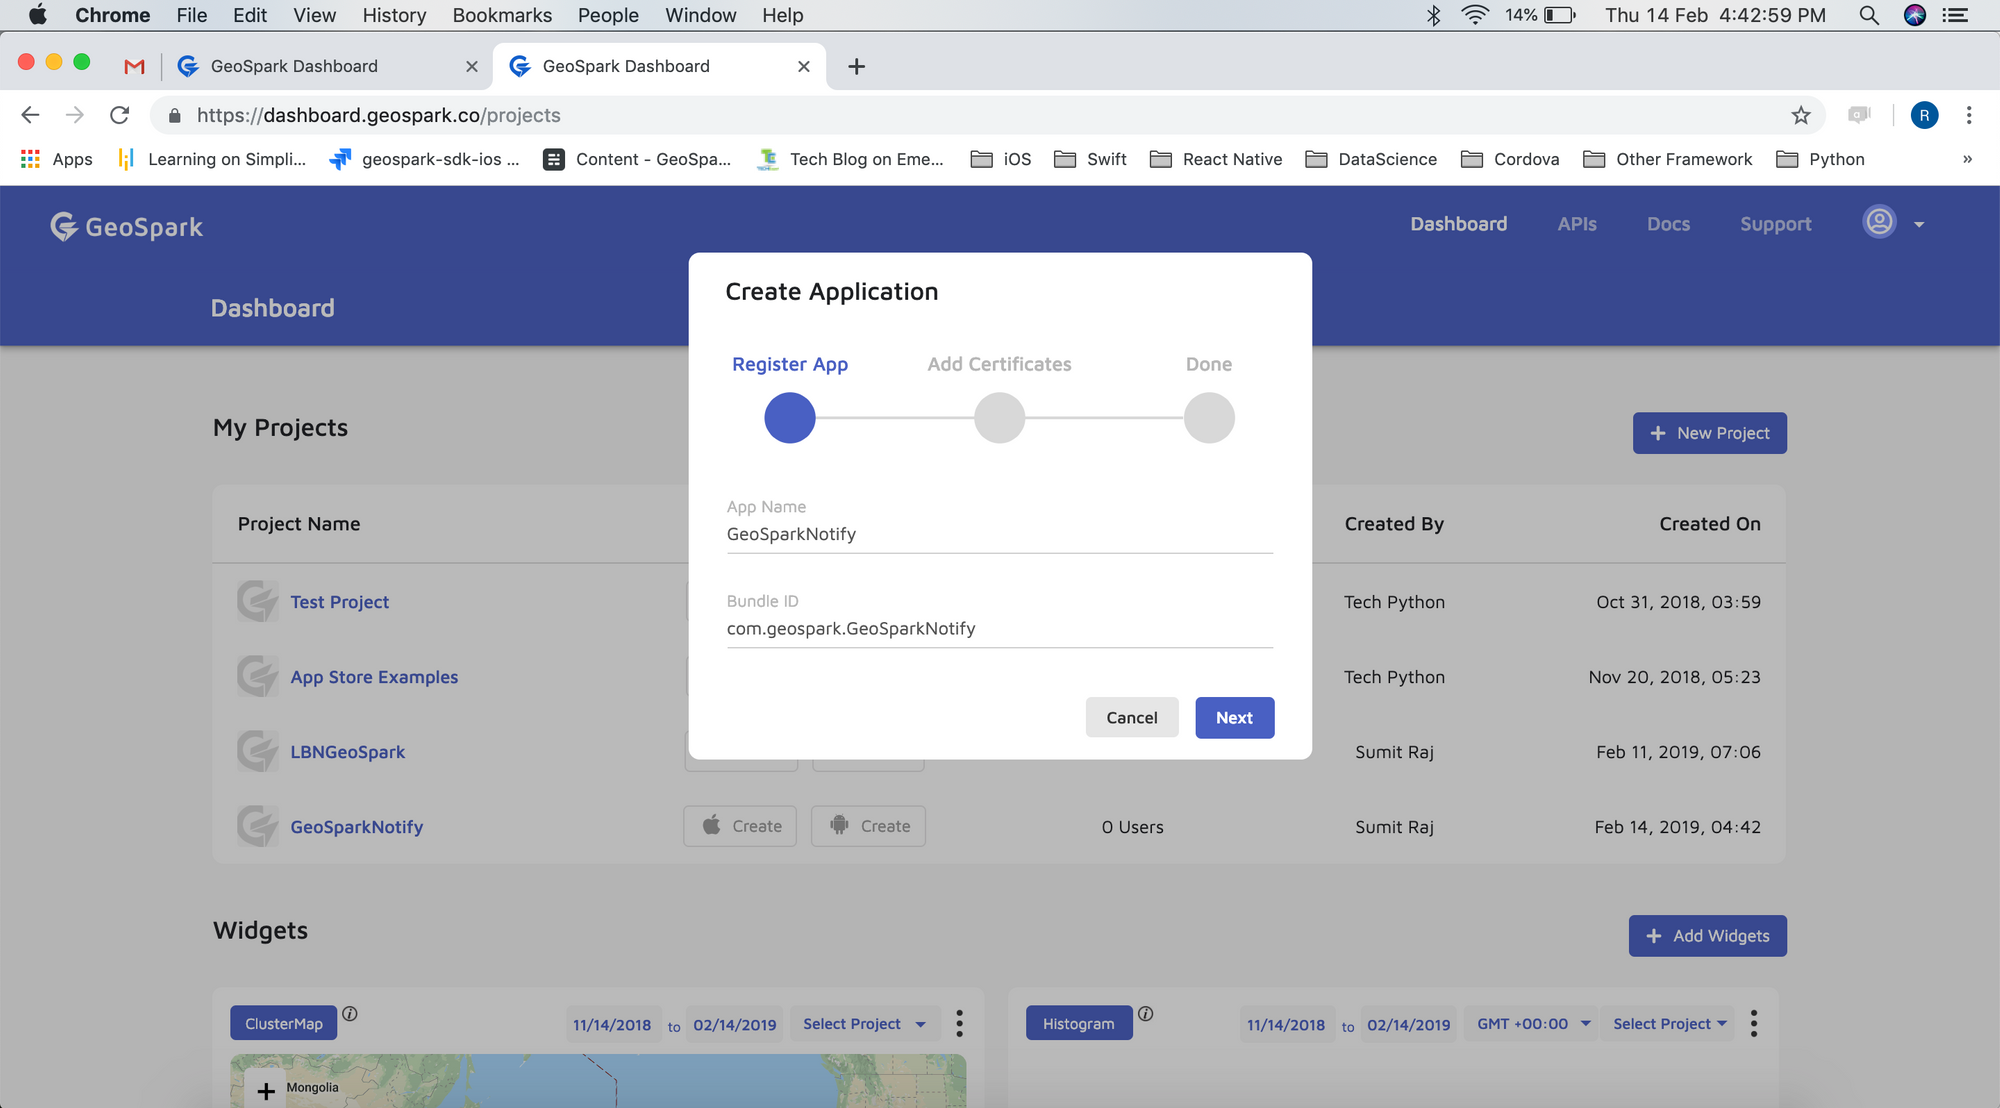
Sign up here to create an account with GeoSpark. Post signup, you can create your first project from the dashboard.
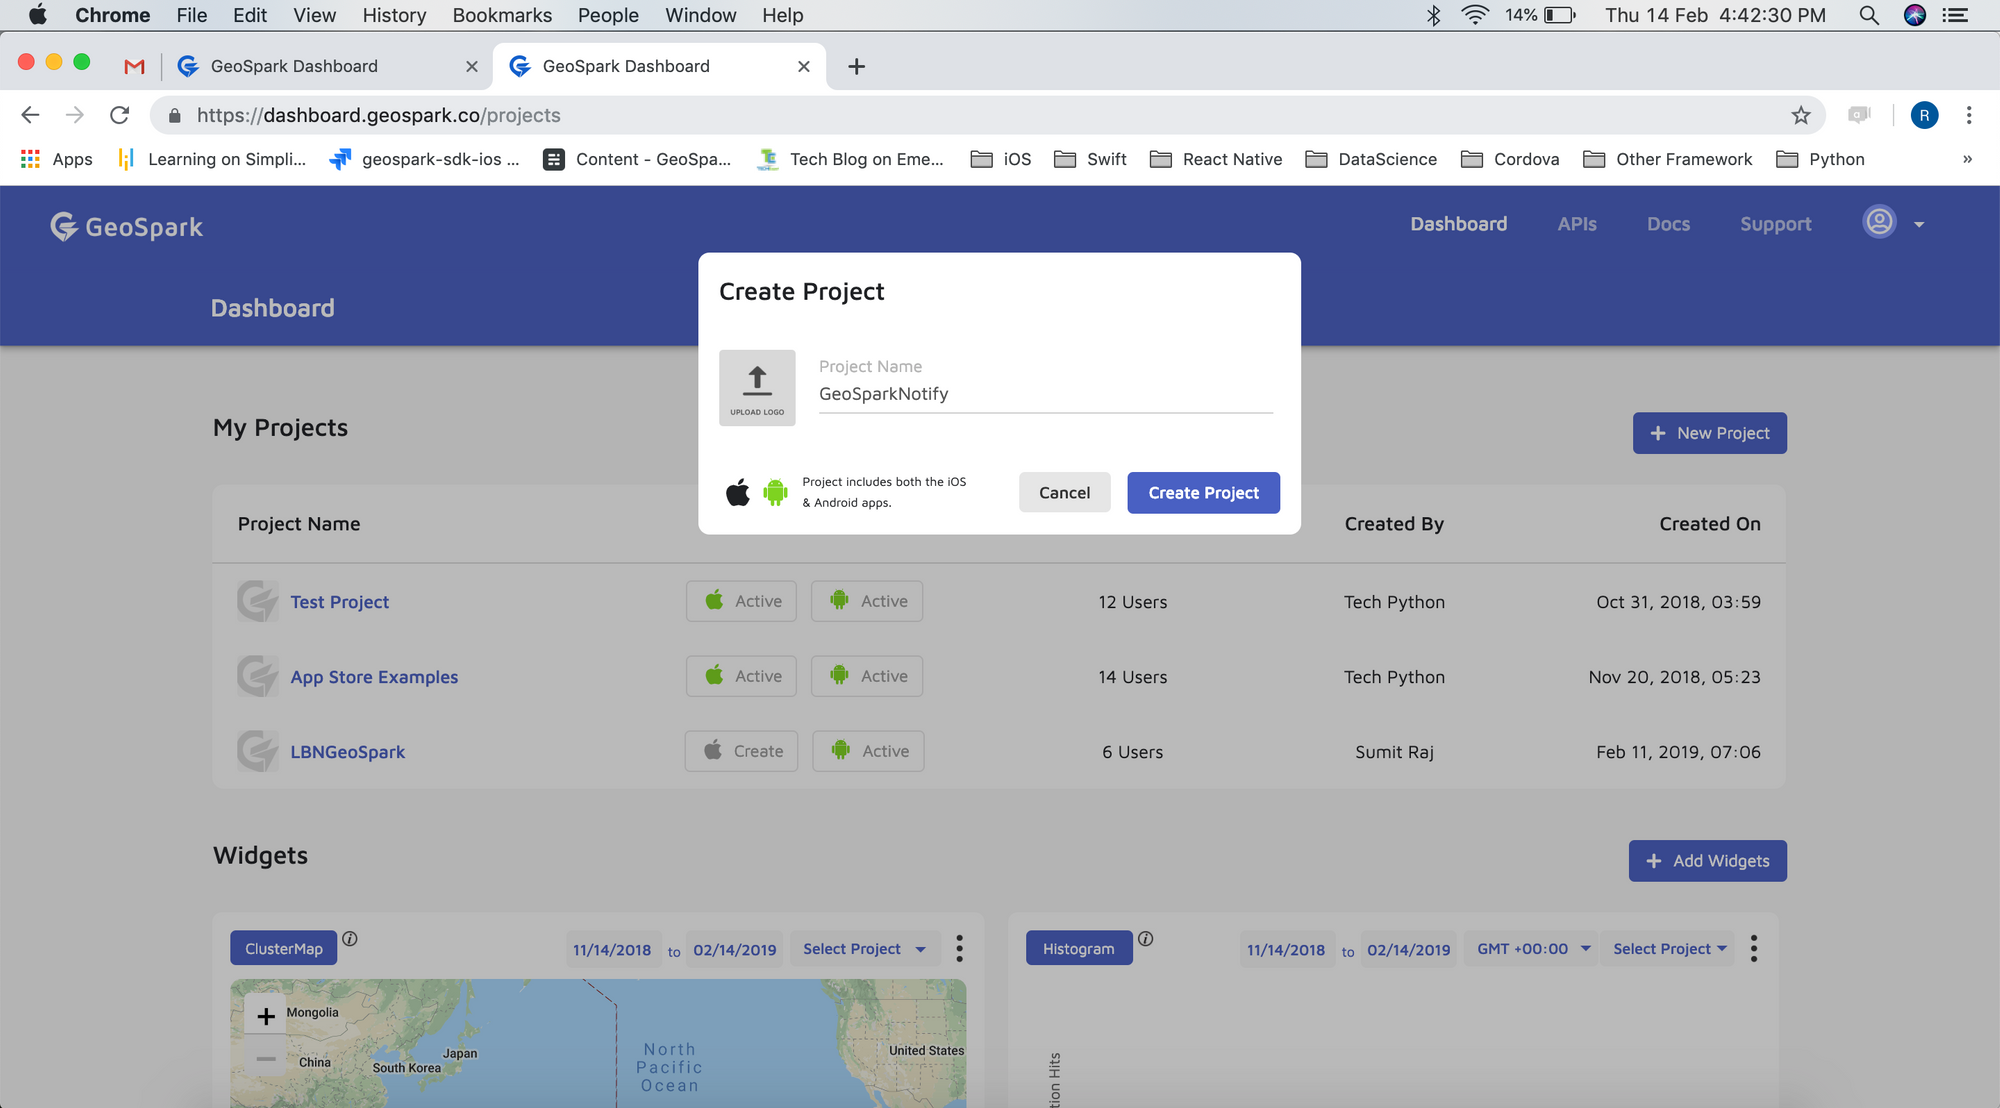
Once you have created your project, you can add applications with required details.
You can get the publishable key from your project settings page which has to be used while integrating the SDK with your application.
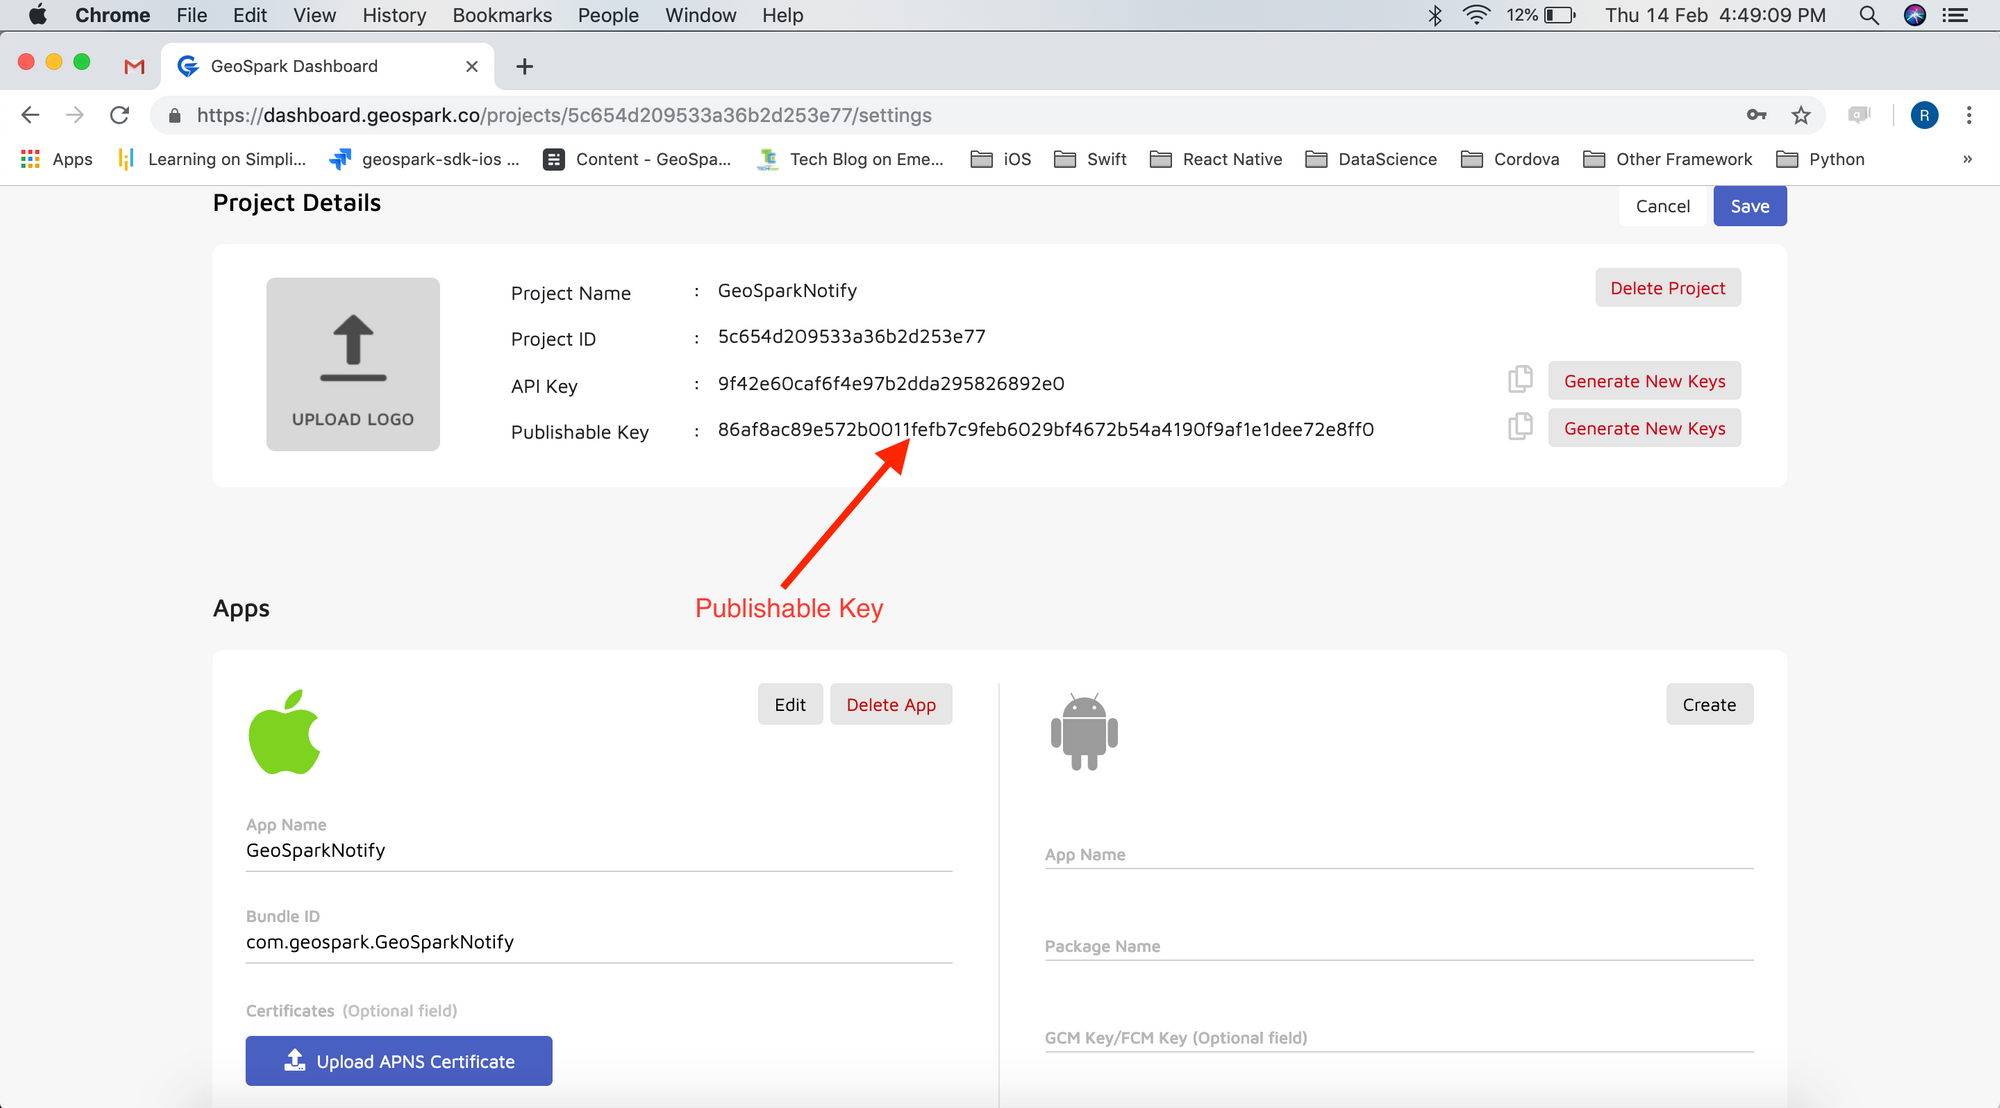
Add the Publishable key , initialise SDK in didFinishLaunchingWithOptions method of your Application class.
Step 5: Create User
Now create a button inside ViewController and add GeoSpark createUser() method inside your Button Action to create a user which returns UserID. The SDK needs a UserID object to identify the device.
Step 6: Create GeofenceViewController
Add MKMapView map to GeofenceViewController and get the coordinates using the code below.
Use GeoSpark's createGeofence, geofenceList and deleteGeofence method to manage geofence data like (Latitude, Longitude, ExpireTime and Radius) in GeoSpark server.
Create Geofence
Make sure radius should be (50 -1000 meters) and set expiry time less than 24hrs.
Geofence list
You can see the list of geofences created by user using geofenceList method.
Delete Geofence
You can delete geofence by using deleteGeofence method.
Step 7: Add Location Notification Message
Add a Local Notification message to notify when user reaches the geofence area.
Step 8: Trigger Notification
Implement GeoSparkDelegate in didFinishLaunchingWithOptions method inside the AppDelegate class.
Compare it with the already created geofence Location. If user location is inside geofence radius, trigger a local Notification.
Now your application for location triggered notifications is successfully built.
Ready to take the next steps?
Thank you for reading! If you're interested in seeing our product in action, click here to get in contact with our team. Or, if you're ready to get started, you can sign up here to start using our SDK and APIs today.